Create ASP.NET Core Razor Pages Project
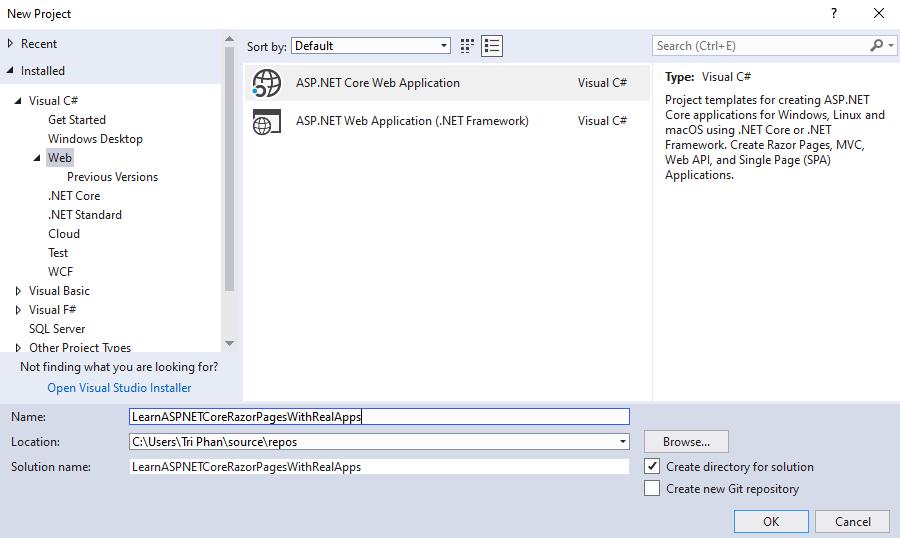
On the Visual Studio, create new ASP.NET Core Web Application project
Select Empty Template
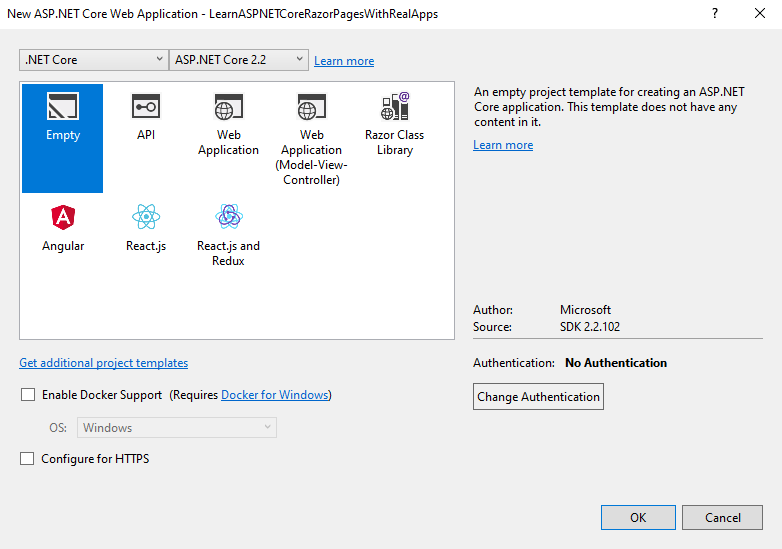
Click Ok button to Finish
Middlewares
Create new folder named Middlewares. In this folder, create new middlewares as below:
DateLog Middleware
In Middlewares folder, create new class named DateLogMiddleware.cs as below:
using System;
using System.Diagnostics;
using System.Threading.Tasks;
using Microsoft.AspNetCore.Builder;
using Microsoft.AspNetCore.Http;

namespace LearnASPNETCoreRazorPagesWithRealApps.Middlewares
{
    public class DateLogMiddleware
    {
        private readonly RequestDelegate _next;

        public DateLogMiddleware(RequestDelegate next)
        {
            _next = next;
        }

        public Task Invoke(HttpContext httpContext)
        {
            Debug.WriteLine("Date: " + DateTime.Now.ToLongDateString());
            return _next(httpContext);
        }
    }

    public static class DateLogMiddlewareExtensions
    {
        public static IApplicationBuilder UseDateLogMiddleware(this IApplicationBuilder builder)
        {
            return builder.UseMiddleware<DateLogMiddleware>();
        }
    }
}
Browser Middleware
In Middlewares folder, create new class named BrowserMiddleware.cs as below:
using System.Diagnostics;
using System.Threading.Tasks;
using Microsoft.AspNetCore.Builder;
using Microsoft.AspNetCore.Http;

namespace LearnASPNETCoreRazorPagesWithRealApps.Middlewares
{
    public class BrowserMiddleware
    {
        private readonly RequestDelegate _next;

        public BrowserMiddleware(RequestDelegate next)
        {
            _next = next;
        }

        public Task Invoke(HttpContext httpContext)
        {
            var userAgent = httpContext.Request.Headers["User-Agent"].ToString();
            var ipAddress = httpContext.Connection.RemoteIpAddress.ToString();
            var url = httpContext.Request.Path;
            Debug.WriteLine("userAgent: " + userAgent);
            Debug.WriteLine("ipAddress: " + ipAddress);
            Debug.WriteLine("url: " + url);
            return _next(httpContext);
        }
    }

    public static class BrowserMiddlewareExtensions
    {
        public static IApplicationBuilder UseBrowserMiddleware(this IApplicationBuilder builder)
        {
            return builder.UseMiddleware<BrowserMiddleware>();
        }
    }
}
Configurations
Open Startup.cs file and add new configurations as below:
using LearnASPNETCoreRazorPagesWithRealApps.Middlewares;
using Microsoft.AspNetCore.Builder;
using Microsoft.AspNetCore.Hosting;
using Microsoft.Extensions.DependencyInjection;

namespace LearnASPNETCoreRazorPagesWithRealApps
{
    public class Startup
    {
        public void ConfigureServices(IServiceCollection services)
        {
            services.AddMvc();
        }

        public void Configure(IApplicationBuilder app, IHostingEnvironment env)
        {
            if (env.IsDevelopment())
            {
                app.UseDeveloperExceptionPage();
            }

            app.UseDateLogMiddleware();

            app.UseBrowserMiddleware();

            app.UseStaticFiles();

            app.UseMvc();
        }
    }
}
Create Razor View Imports
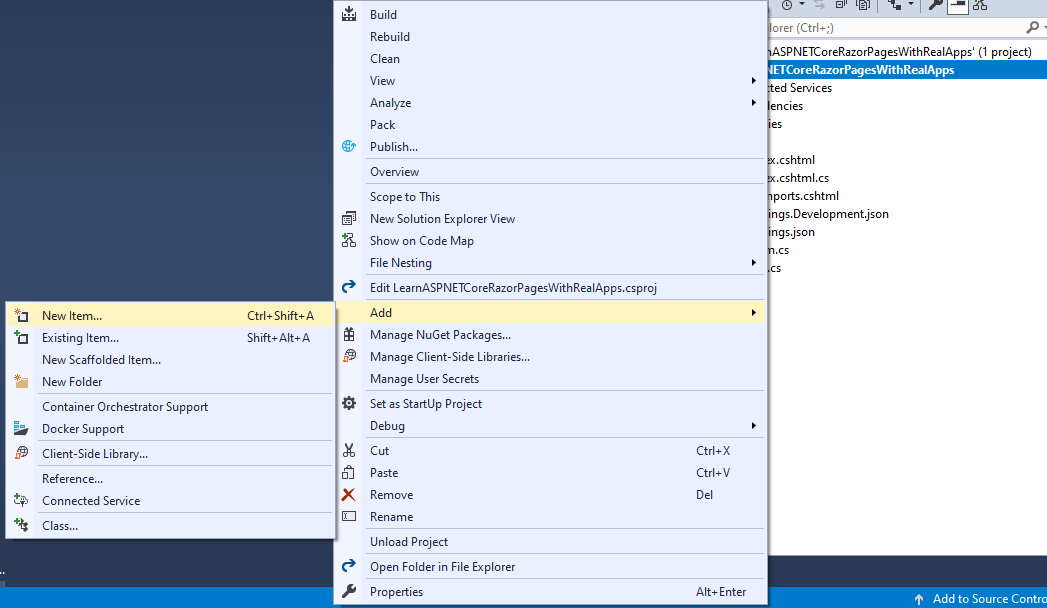
Select Views folder and right click to select Add\New Item Menu
Select Web\ASP.NET in left side. Select Razor View Imports item and click Add button to Finish
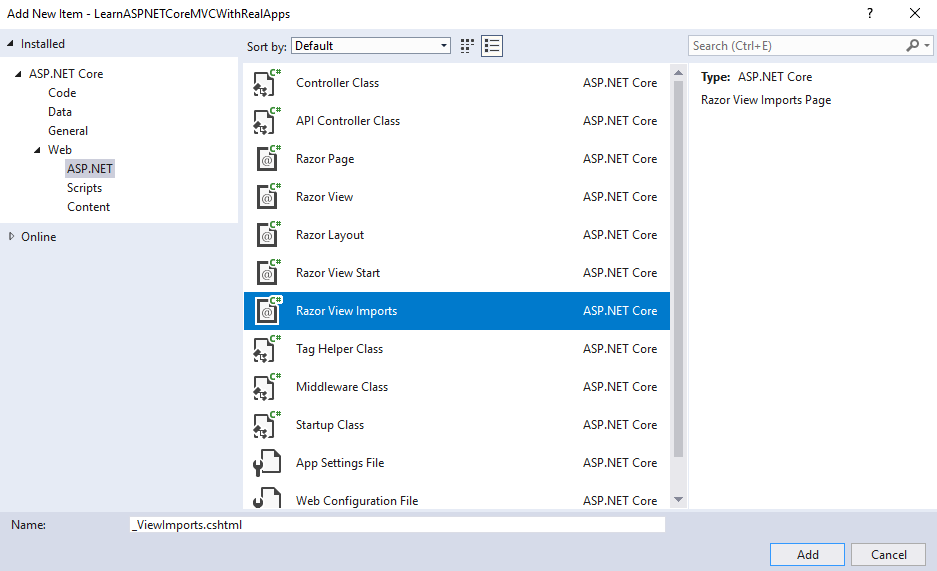
In _ViewImports.cshtml file and TagHelpers library as below:
@addTagHelper *, Microsoft.AspNetCore.Mvc.TagHelpers
Index Razor Page
Create new folder named Pages. In this folder, create new Razor Page named Index as below:
Index.cshtml.cs
using Microsoft.AspNetCore.Mvc.RazorPages;

namespace LearnASPNETCoreRazorPagesWithRealApps.Pages
{
    public class IndexModel : PageModel
    {
        public void OnGet()
        {
        }

        public void OnGetMenu1()
        {
        }

        public void OnGetMenu2()
        {
        }
    }
}
Index.cshtml
@page
@model LearnASPNETCoreRazorPagesWithRealApps.Pages.IndexModel
@{
    Layout = null;
}

<!DOCTYPE html>

<html>
<head>
    <meta name="viewport" content="width=device-width" />
    <title>Index</title>
</head>
<body>

    <a asp-page="index2">Index 2</a> |
    <a asp-page="index" asp-page-handler="menu1">Menu 1</a> |
    <a asp-page="index" asp-page-handler="menu2">Menu 2</a>

</body>
</html>
Index2 Razor Page
In this folder, create new Razor Page named Index2 as below:
Index2.cshtml.cs
using Microsoft.AspNetCore.Mvc.RazorPages;

namespace LearnASPNETCoreRazorPagesWithRealApps.Pages
{
    public class Index2Model : PageModel
    {
        public void OnGet()
        {
        }

        public void OnPost()
        {
        }
    }
}
Index2.cshtml
@page
@model LearnASPNETCoreRazorPagesWithRealApps.Pages.Index2Model

<!DOCTYPE html>

<html>
<head>
    <meta name="viewport" content="width=device-width" />
    <title>Index2</title>
</head>
<body>

    <h3>Index 2 Page</h3>
    <form asp-page="index2" method="post">
        <input type="submit" value="Save" />
    </form>

</body>
</html>
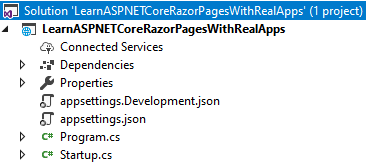
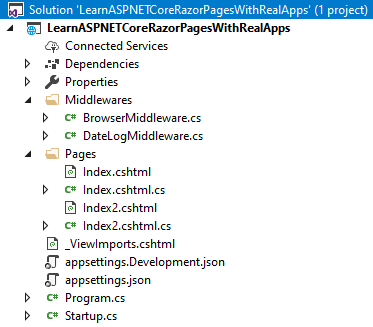
Structure of ASP.NET Core Razor Pages Project
Run Application
Open Index Razor Page with following url: http://localhost:1115
Date: Friday, September 6, 2019
userAgent: Mozilla/5.0 (Windows NT 10.0; WOW64; rv:60.0) Gecko/20100101 Firefox/60.0
ipAddress: ::1
url: /
Click Index 2 link to open Index2 Razor Page with following url: http://localhost:1115/Index2
Date: Friday, September 6, 2019
userAgent: Mozilla/5.0 (Windows NT 10.0; WOW64; rv:60.0) Gecko/20100101 Firefox/60.0
ipAddress: ::1
url: /Index2
Click Menu 1 link to call Menu1 action in Index Razor Page with following url: http://localhost:1115/?handler=menu1
Date: Friday, September 6, 2019
userAgent: Mozilla/5.0 (Windows NT 10.0; WOW64; rv:60.0) Gecko/20100101 Firefox/60.0
ipAddress: ::1
url: /
Click Menu 2 link to call Menu2 action in Index Razor Page with following url: http://localhost:1115/?handler=menu2
Date: Friday, September 6, 2019
userAgent: Mozilla/5.0 (Windows NT 10.0; WOW64; rv:60.0) Gecko/20100101 Firefox/60.0
ipAddress: ::1
url: /