Create ASP.NET Core MVC Project
On the Visual Studio, create new ASP.NET Core Web Application project
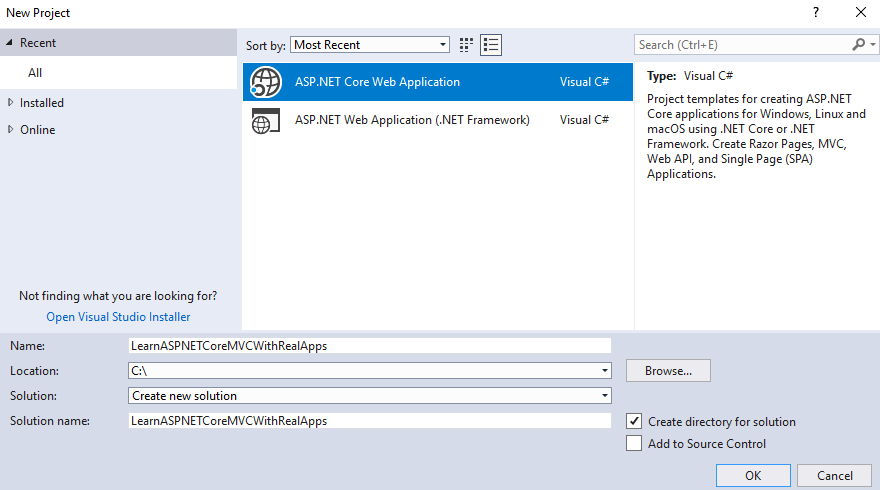
Select Empty Template
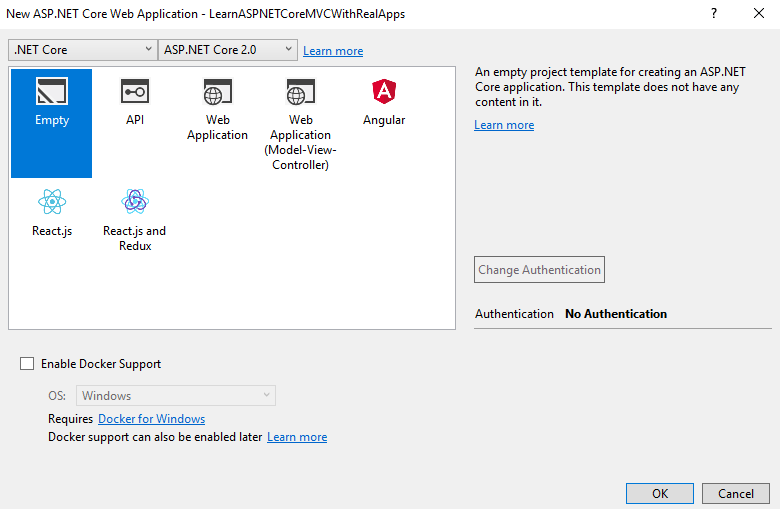
Click Ok button to Finish
Add Configurations
Open Startup.cs file and add new configurations as below:
using System;
using System.Collections.Generic;
using System.Linq;
using System.Threading.Tasks;
using Microsoft.AspNetCore.Builder;
using Microsoft.AspNetCore.Hosting;
using Microsoft.AspNetCore.Http;
using Microsoft.Extensions.DependencyInjection;

namespace LearnASPNETCoreMVCWithRealApps
{
    public class Startup
    {
        public void ConfigureServices(IServiceCollection services)
        {
            services.AddMvc();
        }

        public void Configure(IApplicationBuilder app, IHostingEnvironment env)
        {
            if (env.IsDevelopment())
            {
                app.UseDeveloperExceptionPage();
            }

            app.UseMvc(routes =>
            {
                routes.MapRoute(
                    name: "default",
                    template: "{controller=Demo}/{action=Index}/{id?}");
            });

        }
    }
}
Create Controller
Create new folder named Controllers. In this folder, create new controller named DemoController.cs as below:
using Microsoft.AspNetCore.Mvc;

namespace LearnASPNETCoreMVCWithRealApps.Controllers
{
    [Route("demo")]
    public class DemoController : Controller
    {
        [Route("")]
        [Route("index")]
        [Route("~/")]
        public IActionResult Index()
        {
            return View();
        }

        [HttpPost]
        [Route("Work1")]
        public IActionResult Work1()
        {
            return View("Work1");
        }

        [HttpPost]
        [Route("Work2")]
        public IActionResult Work2()
        {
            return View("Work2");
        }

        [HttpPost]
        [Route("Work3")]
        public IActionResult Work3()
        {
            return View("Work3");
        }

    }
}
Create View
Create new folder named Views. In this folder, create new folder named Demo and add new views as below:
Index View
In Demo folder, create new view named Index.cshtml as below:
<html>
<head>
    <meta name="viewport" content="width=device-width" />
    <title>Index</title>
</head>
<body>

    <h3>Multiple Submit Form</h3>
    <form method="post">
        <input type="submit" value="Work 1" asp-controller="demo" asp-action="work1" />
        <input type="submit" value="Work 2" asp-controller="demo" asp-action="work2" />
        <input type="submit" value="Work 3" asp-controller="demo" asp-action="work3" />
    </form>

</body>
</html>
Work1 View
In Demo folder, create new view named Work1.cshtml as below:
<html>
<head>
    <meta name="viewport" content="width=device-width" />
    <title>Work 1 View</title>
</head>
<body>

    <h3>Work 1 View</h3>
    <a asp-controller="demo" asp-action="index">Index Page</a>

</body>
</html>
Work2 View
In Demo folder, create new view named Work2.cshtml as below:
<html>
<head>
    <meta name="viewport" content="width=device-width" />
    <title>Work 2 View</title>
</head>
<body>

    <h3>Work 2 View</h3>
    <a asp-controller="demo" asp-action="index">Index Page</a>

</body>
</html>
Work3 View
In Demo folder, create new view named Work3.cshtml as below:
<html>
<head>
    <meta name="viewport" content="width=device-width" />
    <title>Work 3 View</title>
</head>
<body>

    <h3>Work 3 View</h3>
    <a asp-controller="demo" asp-action="index">Index Page</a>

</body>
</html>
Create Razor View Imports
Select Views folder and right click to select Add\New Item Menu
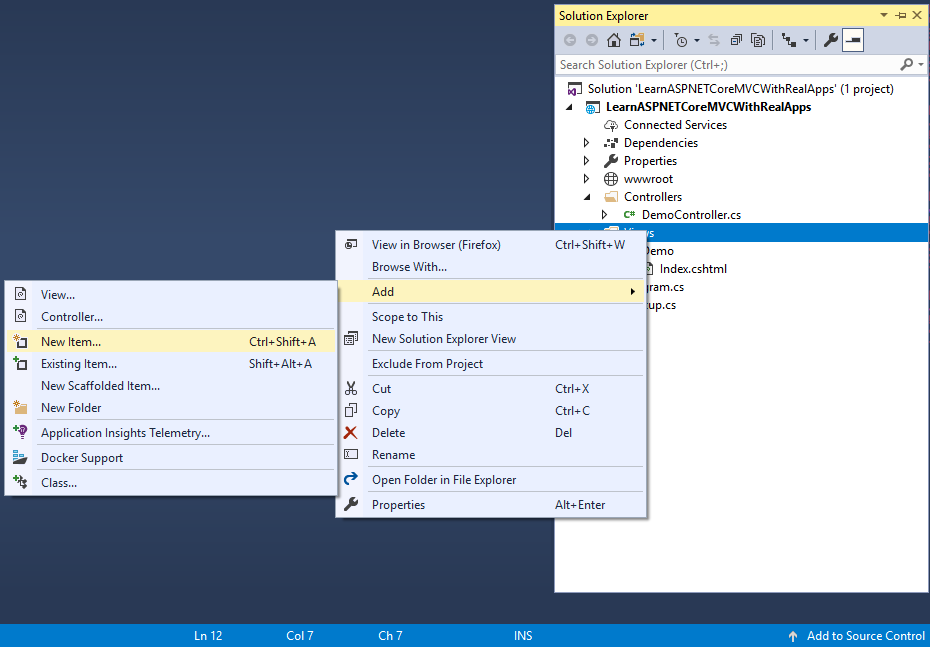
Select Web\ASP.NET in left side. Select Razor View Imports item and click Add button to Finish
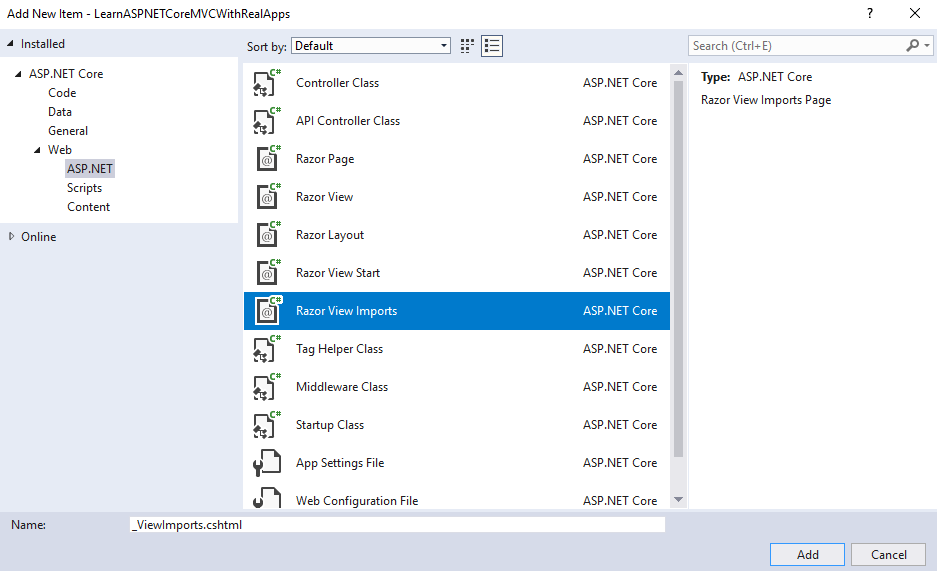
In _ViewImports.cshtml file and TagHelpers library as below:
@addTagHelper *, Microsoft.AspNetCore.Mvc.TagHelpers
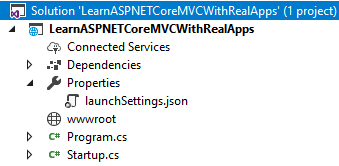
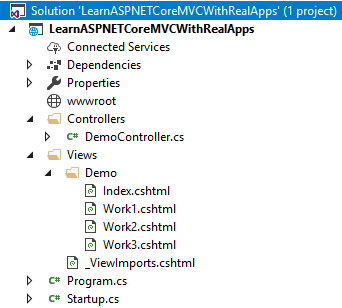
Structure of ASP.NET Core MVC Project
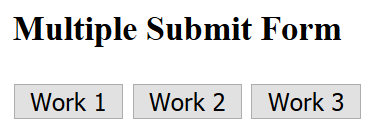
Run Application
Access Index action in Demo controller with following url: http://localhost:48982
Output
Click Work 1 button submit form to Work1 action in Demo controller with following url: http://localhost:48982/demo/work1
Output

Click Work 2 button submit form to Work2 action in Demo controller with following url: http://localhost:48982/demo/work2
Output

Click Work 3 button submit form to Work3 action in Demo controller with following url: http://localhost:48982/demo/work3
Output