Create ASP.NET MVC Project
On the Visual Studio, create new ASP.NET MVC Web Application project
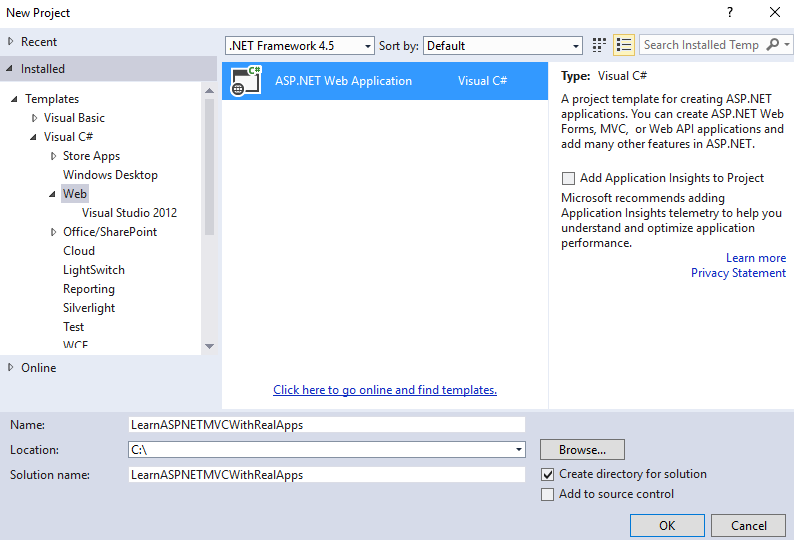
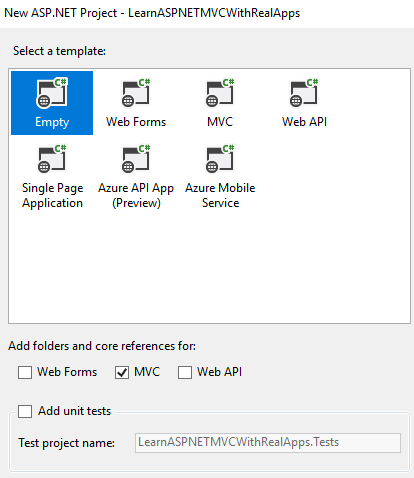
Select Empty Template and Core Reference is MVC
Images Folder
Create new folder named Content. In this folder, create new folder named Images
Entity Class
In Models folder, create new entities class as below:
Product.cs
Create new class named Product.cs as below:
using System;
using System.Collections.Generic;
using System.Linq;
using System.Web;

namespace LearnASPNETMVCWithRealApps.Models
{
    public class Product
    {
        public string Id { get; set; }
        public string Name { get; set; }
        public double Price { get; set; }
        public string Photo { get; set; }
    }
}
Create Controller
In Controllers folder, create new controller named ProductController.cs as below:
using System;
using System.Collections.Generic;
using System.Linq;
using System.Web;
using System.Web.Mvc;
using LearnASPNETMVCWithRealApps.Models;

namespace LearnASPNETMVCWithRealApps.Controllers
{
    public class ProductController : Controller
    {
        [HttpGet]
        public ActionResult Index()
        {
            return View("Index", new Product());
        }

        [HttpPost]
        public ActionResult Save(Product product, HttpPostedFileBase photo)
        {
            if (photo != null)
            {
                photo.SaveAs(Server.MapPath("~/Content/Images/" + photo.FileName));
                product.Photo = photo.FileName;
            }
            ViewBag.product = product;
            return View("Success");
        }

    }
}
Create View
In Views/Product folder, create new razor views as below:
Index View
Create new view named Index.cshtml as below:
@{
Layout = null;
}
@model LearnASPNETMVCWithRealApps.Models.Product
<!DOCTYPE html>
<html>
<head>
<meta name="viewport" content="width=device-width" />
<title>Index</title>
</head>
<body>
@using (Html.BeginForm("Save", "Product", FormMethod.Post, new { enctype = "multipart/form-data" }))
{
<table cellpadding="2" cellspacing="2">
<tr>
<td>Id</td>
<td>@Html.TextBoxFor(model => model.Id)</td>
</tr>
<tr>
<td>Name</td>
<td>@Html.TextBoxFor(model => model.Name)</td>
</tr>
<tr>
<td>Price</td>
<td>@Html.TextBoxFor(model => model.Price)</td>
</tr>
<tr>
<td>Photo</td>
<td>
<input type="file" name="photo" />
</td>
</tr>
<tr>
<td> </td>
<td><input type="submit" value="Save" /></td>
</tr>
</table>
}
</body>
</html>
Success View
Create new view named Success.cshtml as below:
@{
    Layout = null;
}

<!DOCTYPE html>

<html>
<head>
    <meta name="viewport" content="width=device-width" />
    <title>Success</title>
</head>
<body>

    <h3>Product Info</h3>
    <table cellpadding="2" cellspacing="2" border="1">
        <tr>
            <td>Id</td>
            <td>@ViewBag.product.Id</td>
        </tr>
        <tr>
            <td>Name</td>
            <td>@ViewBag.product.Name</td>
        </tr>
        <tr>
            <td>Price</td>
            <td>@ViewBag.product.Price</td>
        </tr>
        <tr>
            <td>Photo</td>
            <td><img src="~/Content/Images/@ViewBag.product.Photo" width="120" /></td>
        </tr>
    </table>
</body>
</html>
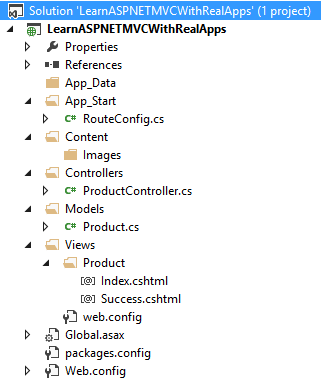
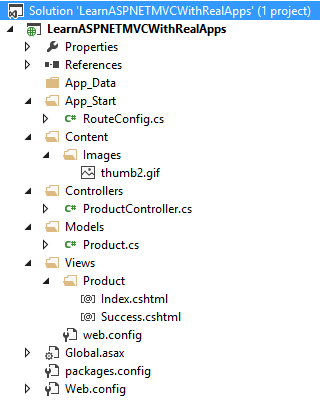
Structure of ASP.NET MVC Project
Run Application
Access Index action in Product controller with following url: http://localhost:49328/Product/Index
Output
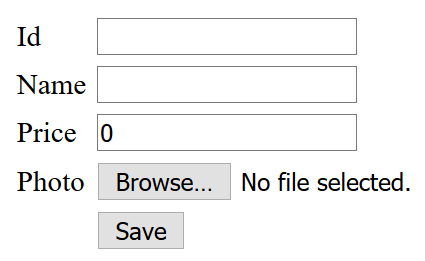
Input new product information and select a photo need upload to Images folder
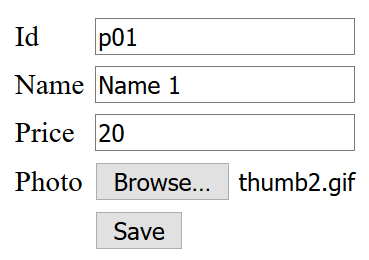
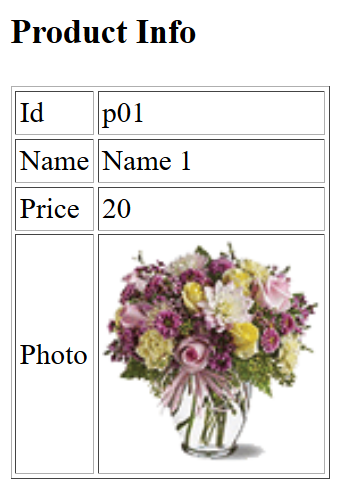
Click Save button submit form to Save action in Product controller with following url: http://localhost:49328/Product/Save
Output
References
I recommend you refer to the books below to learn more about the knowledge in this article:
- ASP.NET MVC Framework Unleashed
- Programming Microsoft ASP.NET MVC (3rd Edition) (Developer Reference)
- Pro ASP.NET MVC 5 Platform
- Pro ASP.NET MVC Framework
- Professional ASP.NET MVC 5